CURRENT SHOP OPERATIONS

Orders are shipped in up to two weeks if they are ready made items. I have to wait until I have free days between my other jobs.
You should receive a shipping notification when it’s packed so you can track it. I appreciate your orders and understanding!

For items that require customization, please contact me before ordering them. I don’t think I will be able to make them before December 31, 2022. 

Sewing Instructions for Flat-fold Mask Pattern

I’m not going to pretend I’m a professional at this… sewing is an old-old hobby. I’m self taught, and sort of just make things up a long the way. (However, I did just watch this video with an expert  who was doing all the things I thought I did because I was lazy! Validation! LOL!)

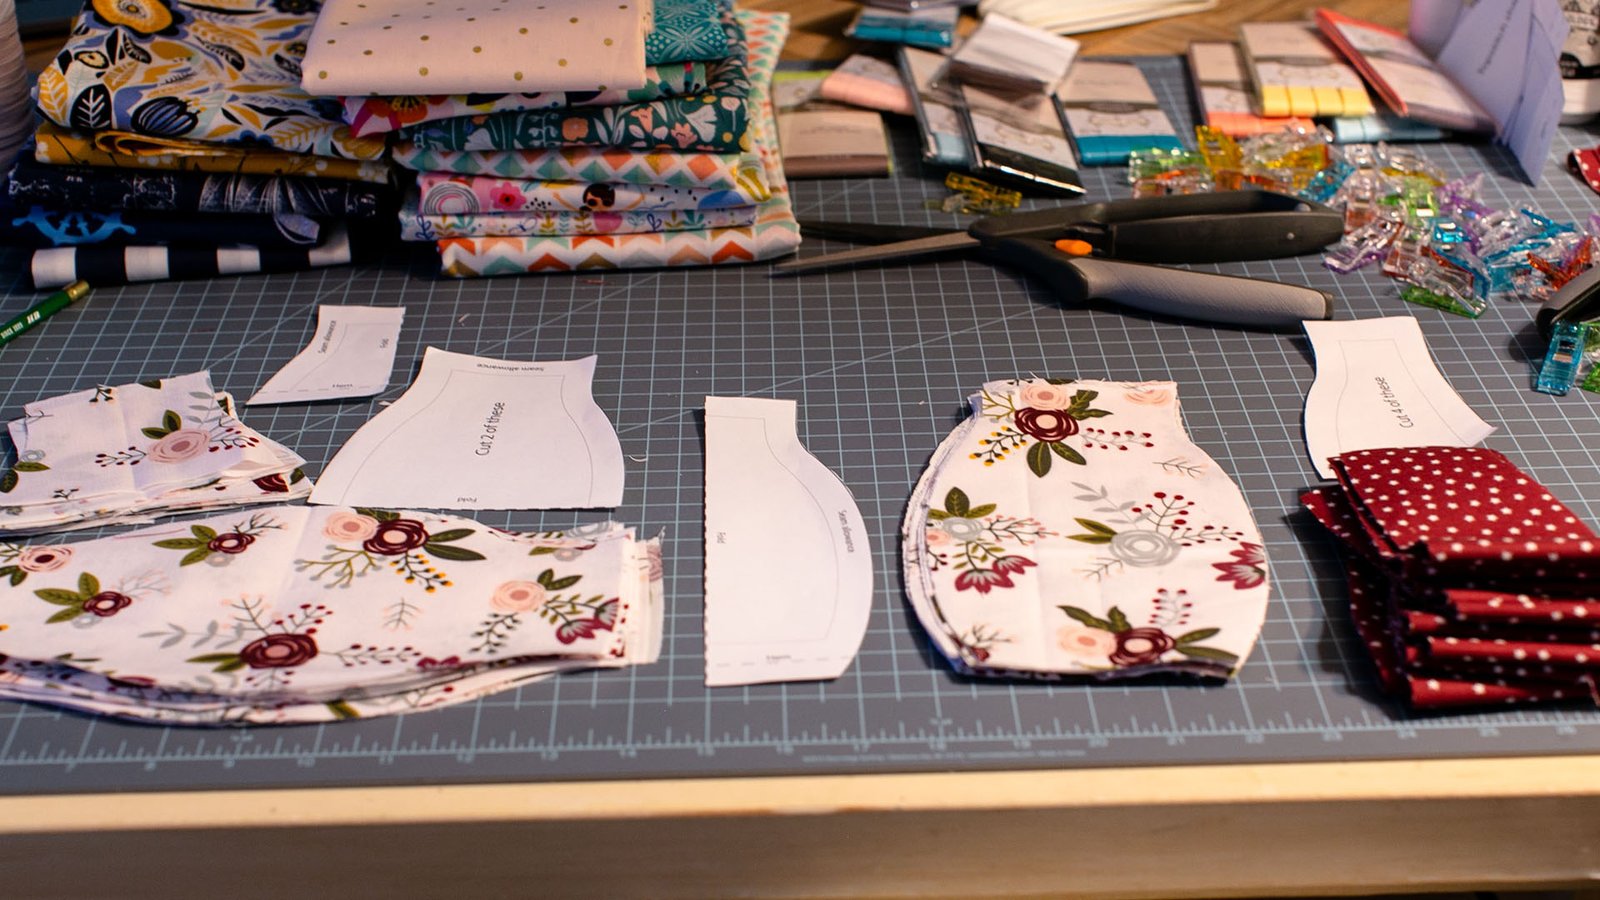
Anyway, I thought it might be nice to have some instructions to go along with the pattern, so you could see step by step how I’m putting them together. These instructions are sewing one mask, but I will note that I made these in sets of 12 and batch everything together. 

Why did I Make this Pattern?

Yes, I know there are three main patterns out there that everyone else is using (circle, mad-max version, and pleated). When I decided I wanted to do this, I read everything I could to learn the space, to learn the need, and what was out there. What did I find out? There’s no standard. Not for making them, and not for the need. Everyone wants different things. So I felt like that left space to add a design that attempted to solve a few of the problems I was seeing expressed. So what am I hoping to address?

Breathability

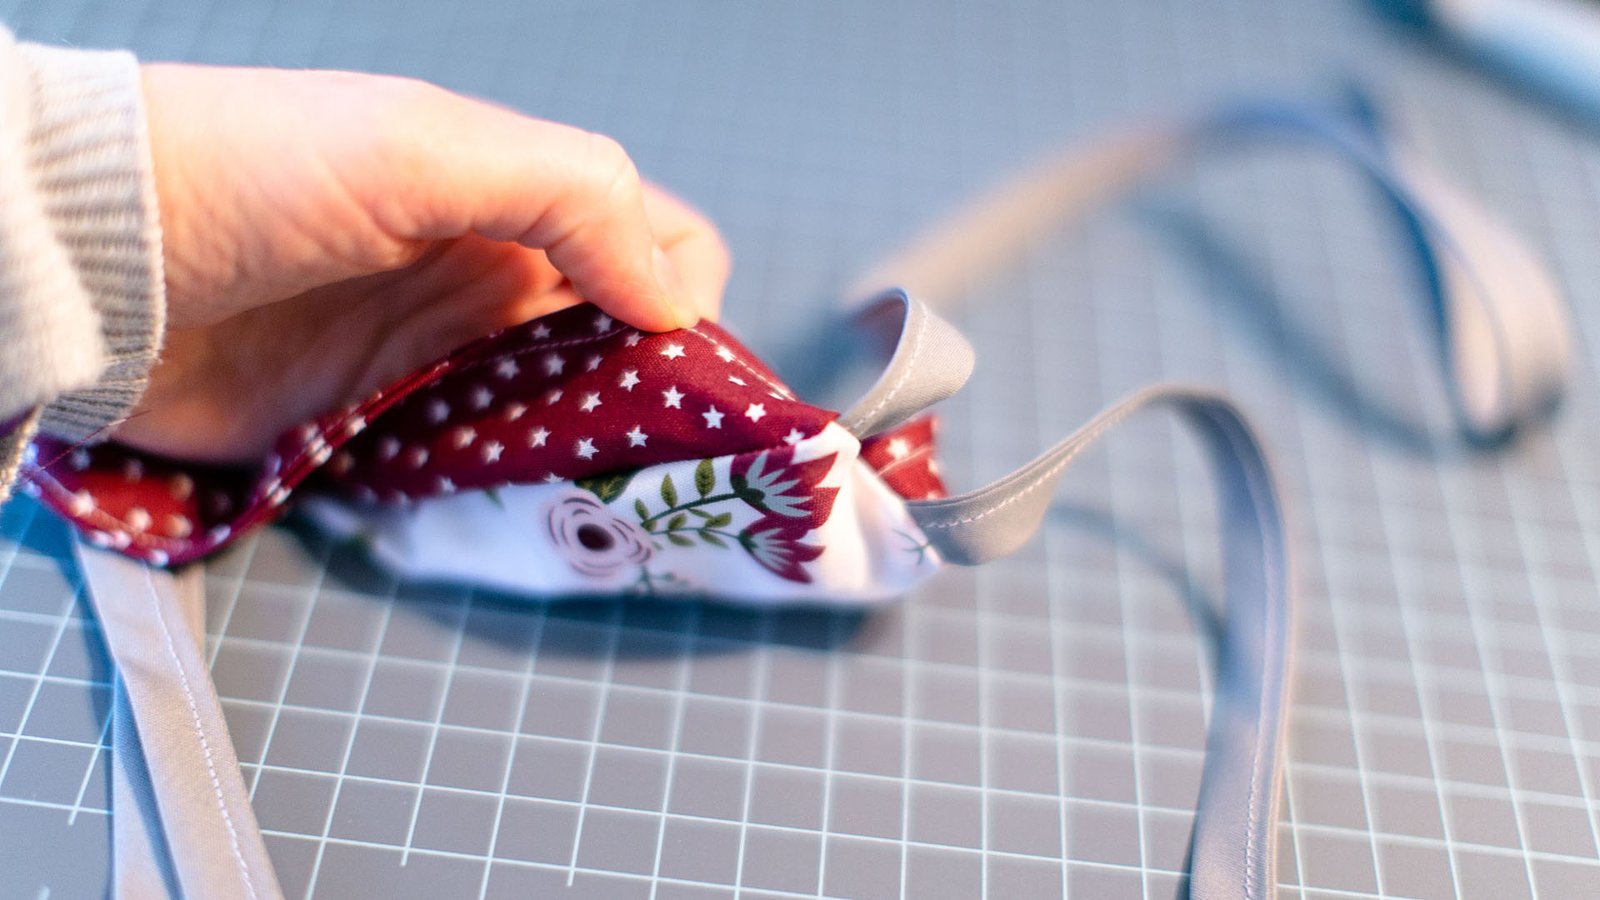
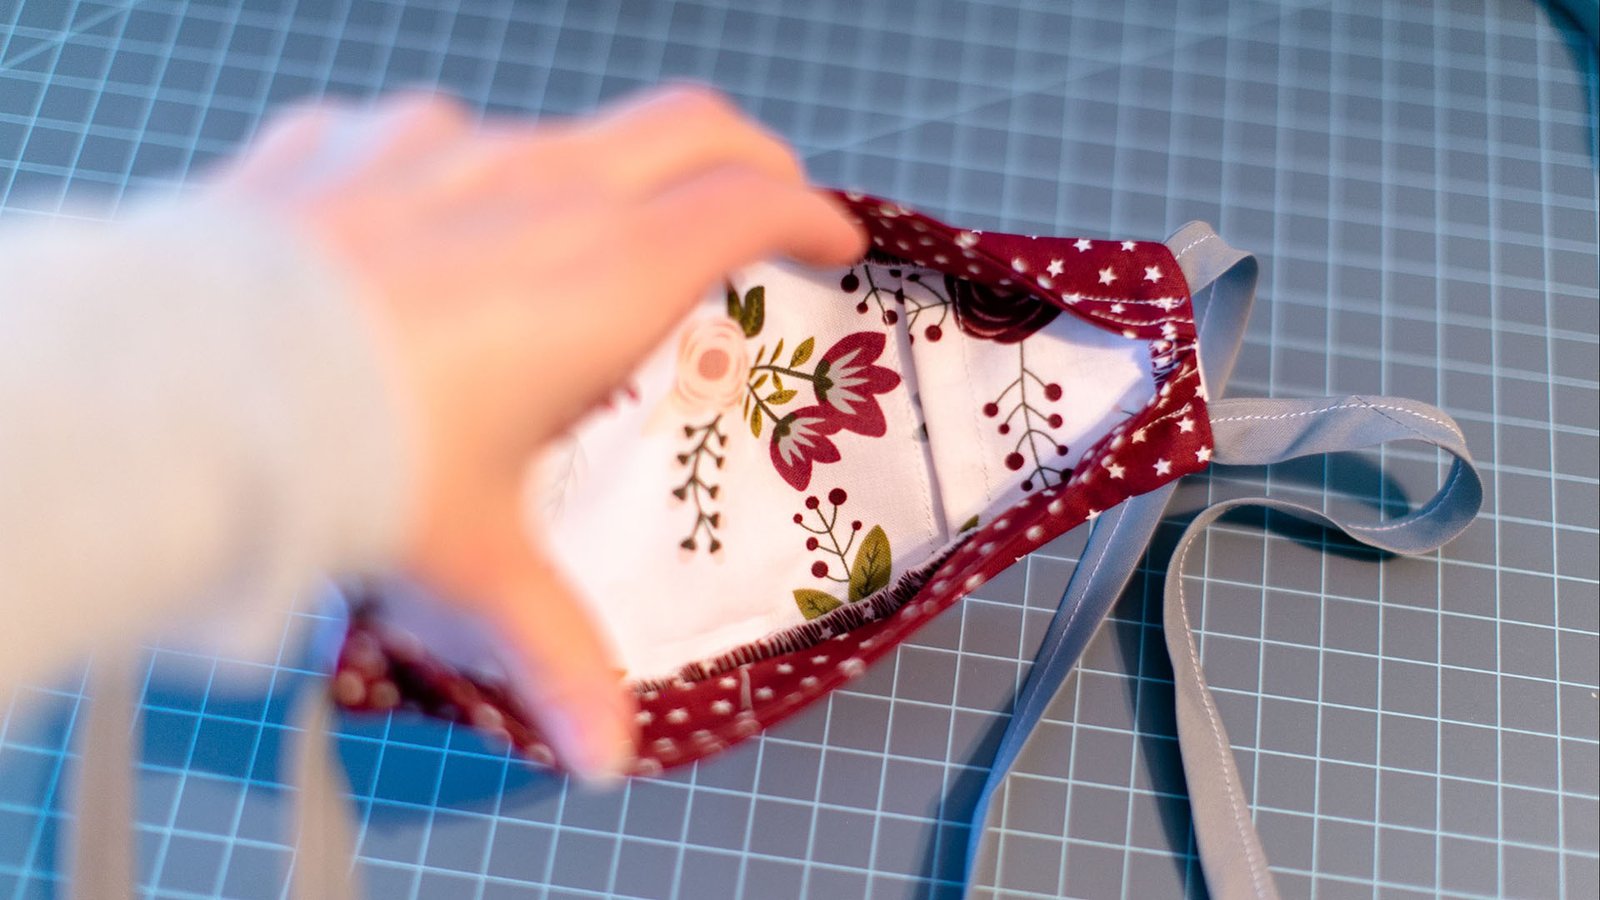
This design is 2 layers. That’s the number recommended in that most reference article about preferred materials. They found the trade off for slightly increased filtering wasn’t balanced with the reduction in air. And, I people I knew directly in the medical field relayed information that some of the ones coming in were too thick. In examples online, I saw that the filter pockets were being added with extra layers. Side note: As this week has gone on, a version of the pleated one with a slit for a pocket has become more popular. 
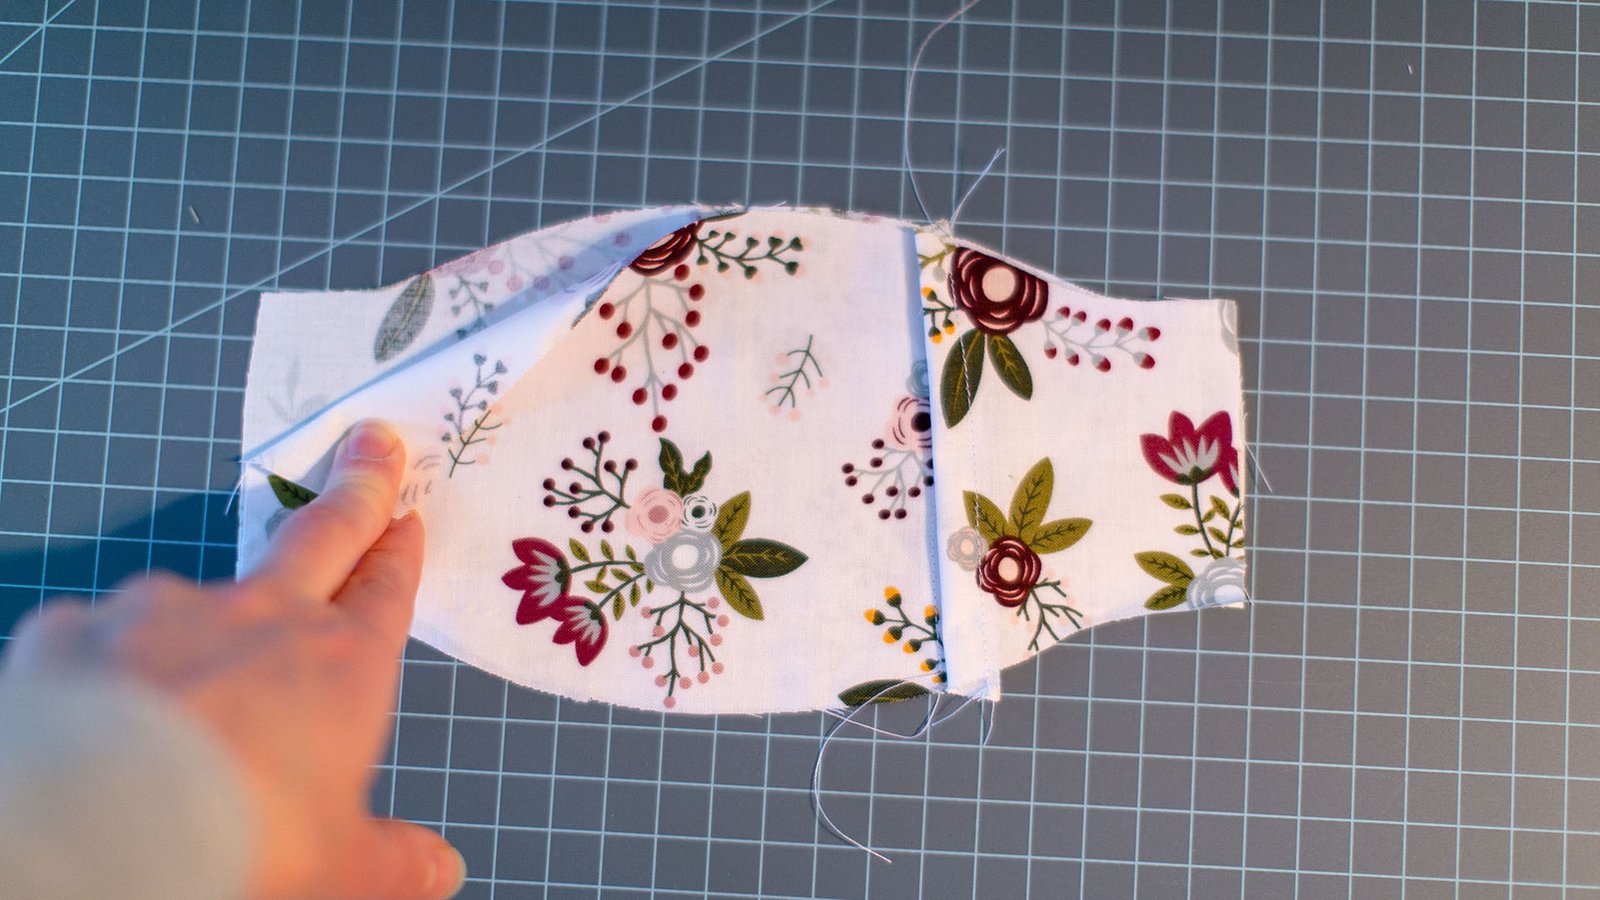
Fit & Seal 

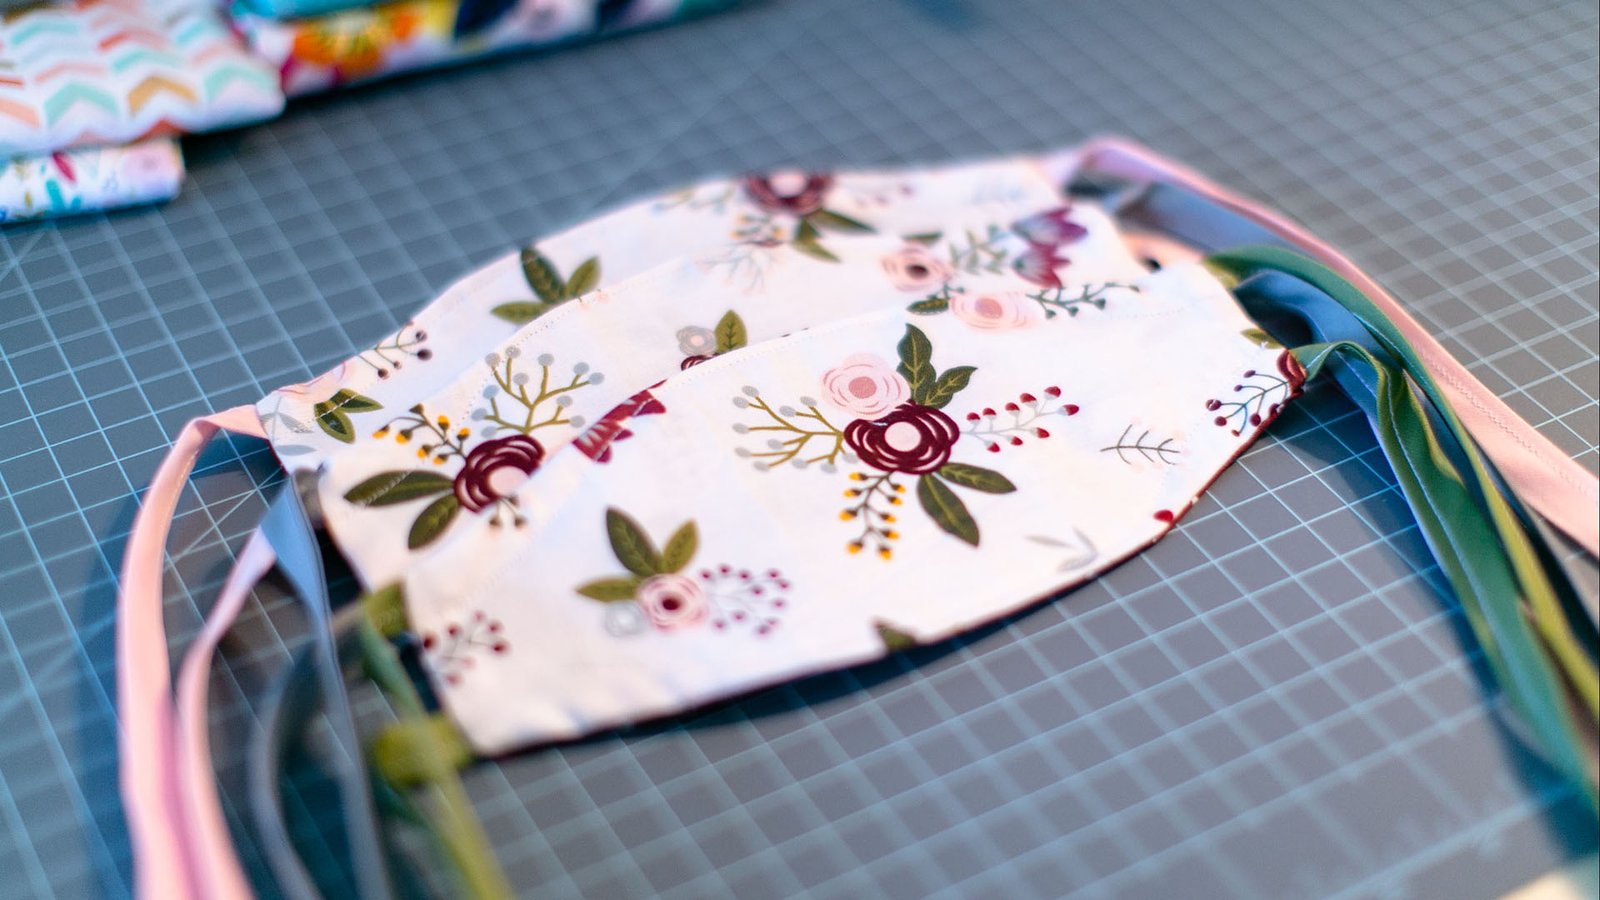
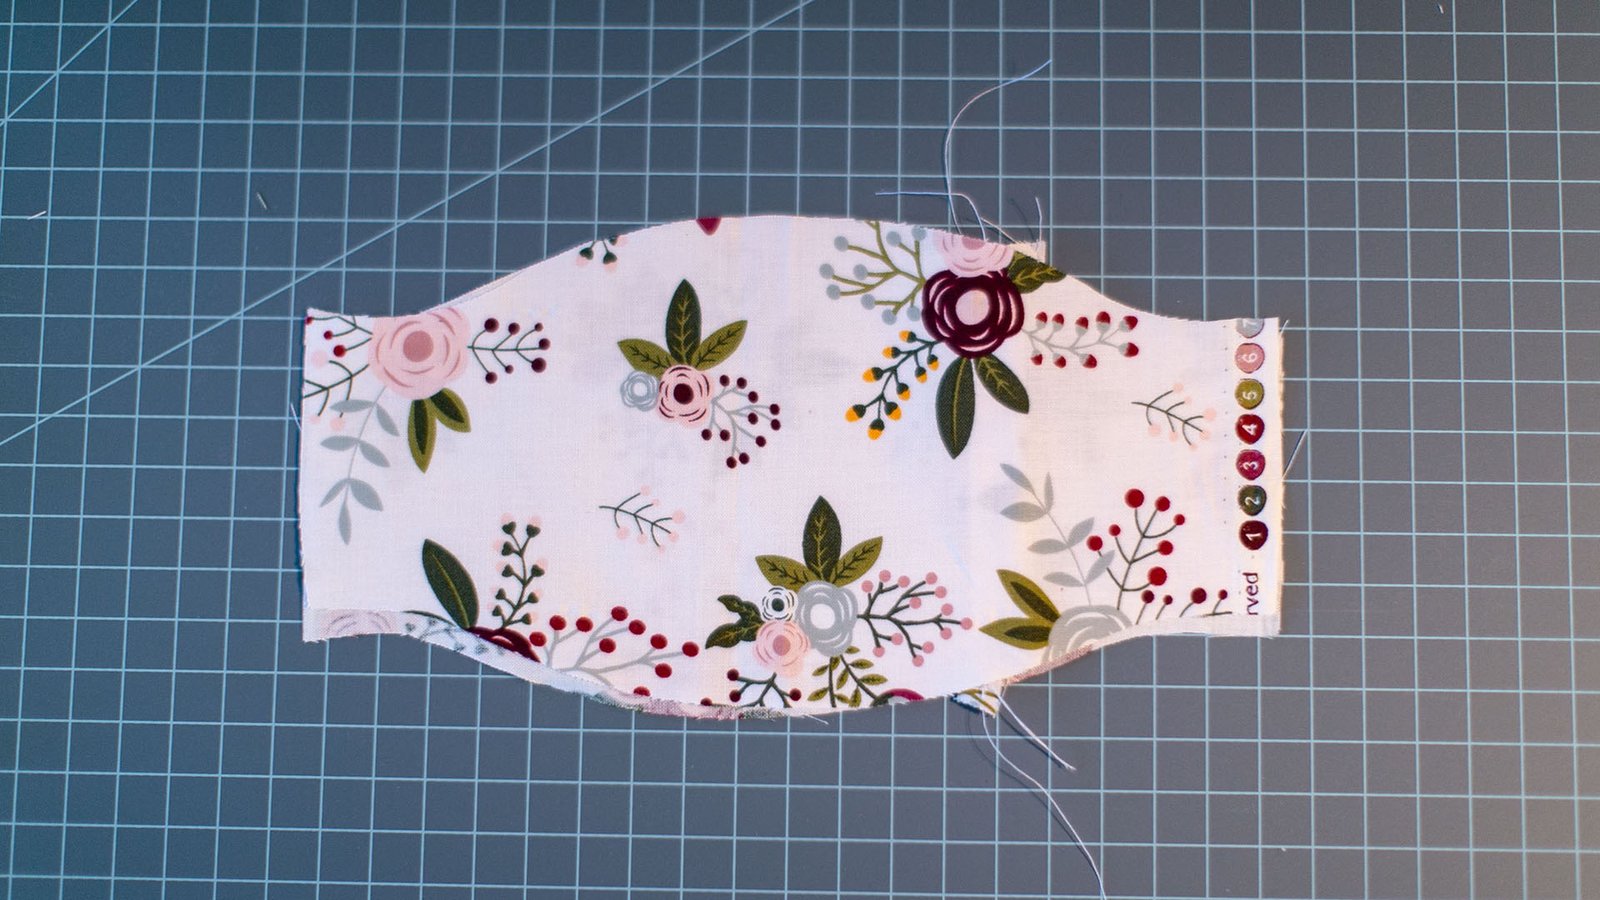
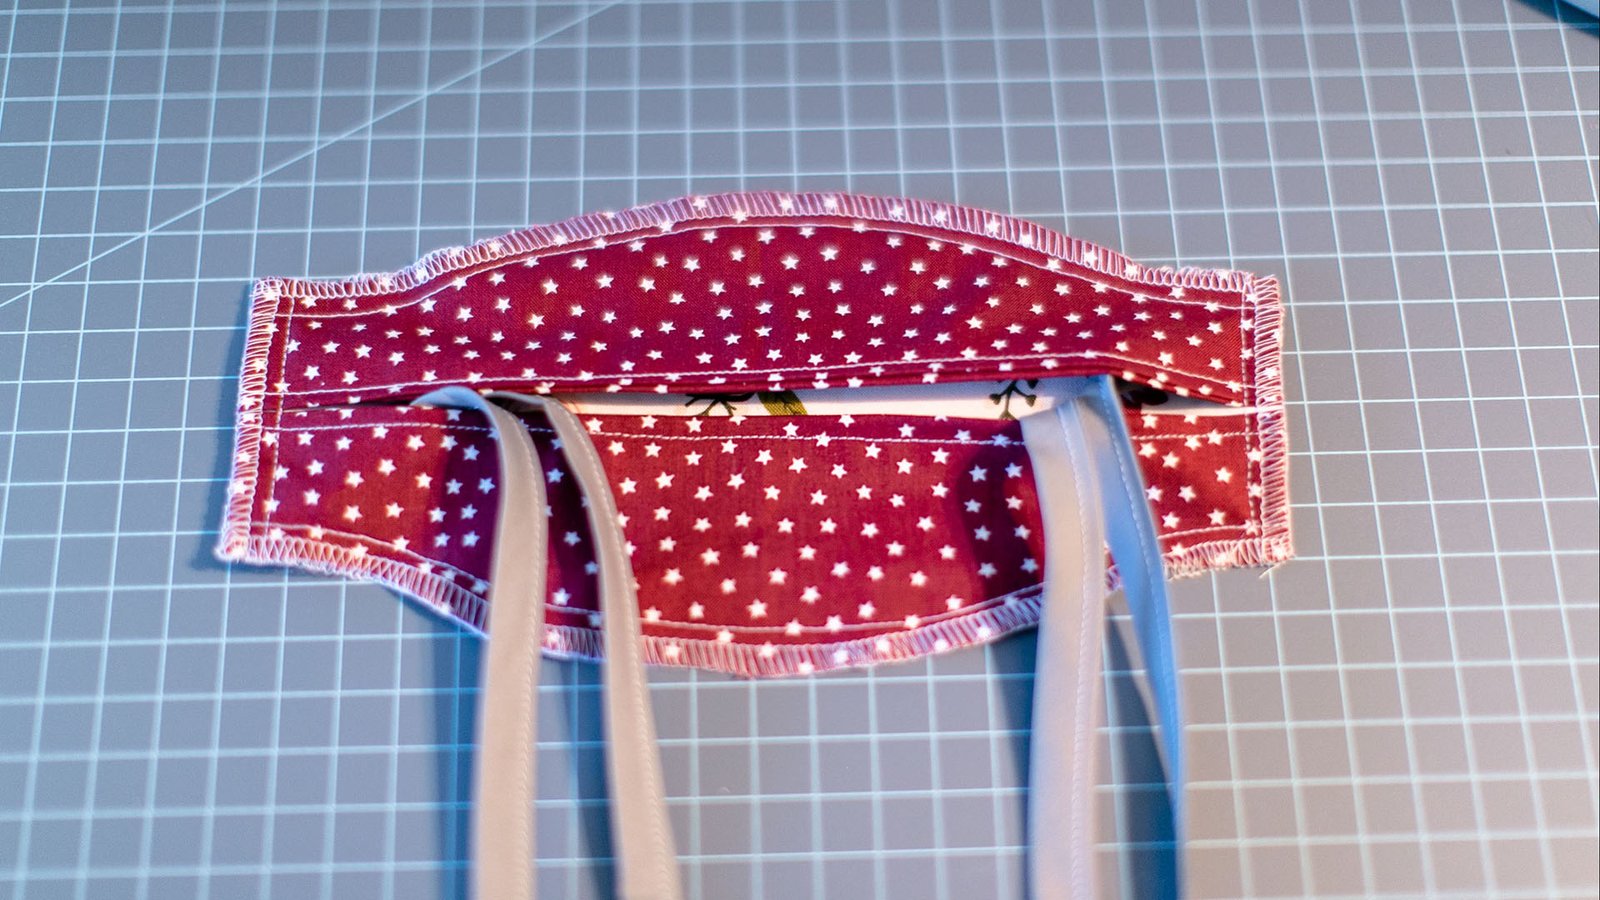
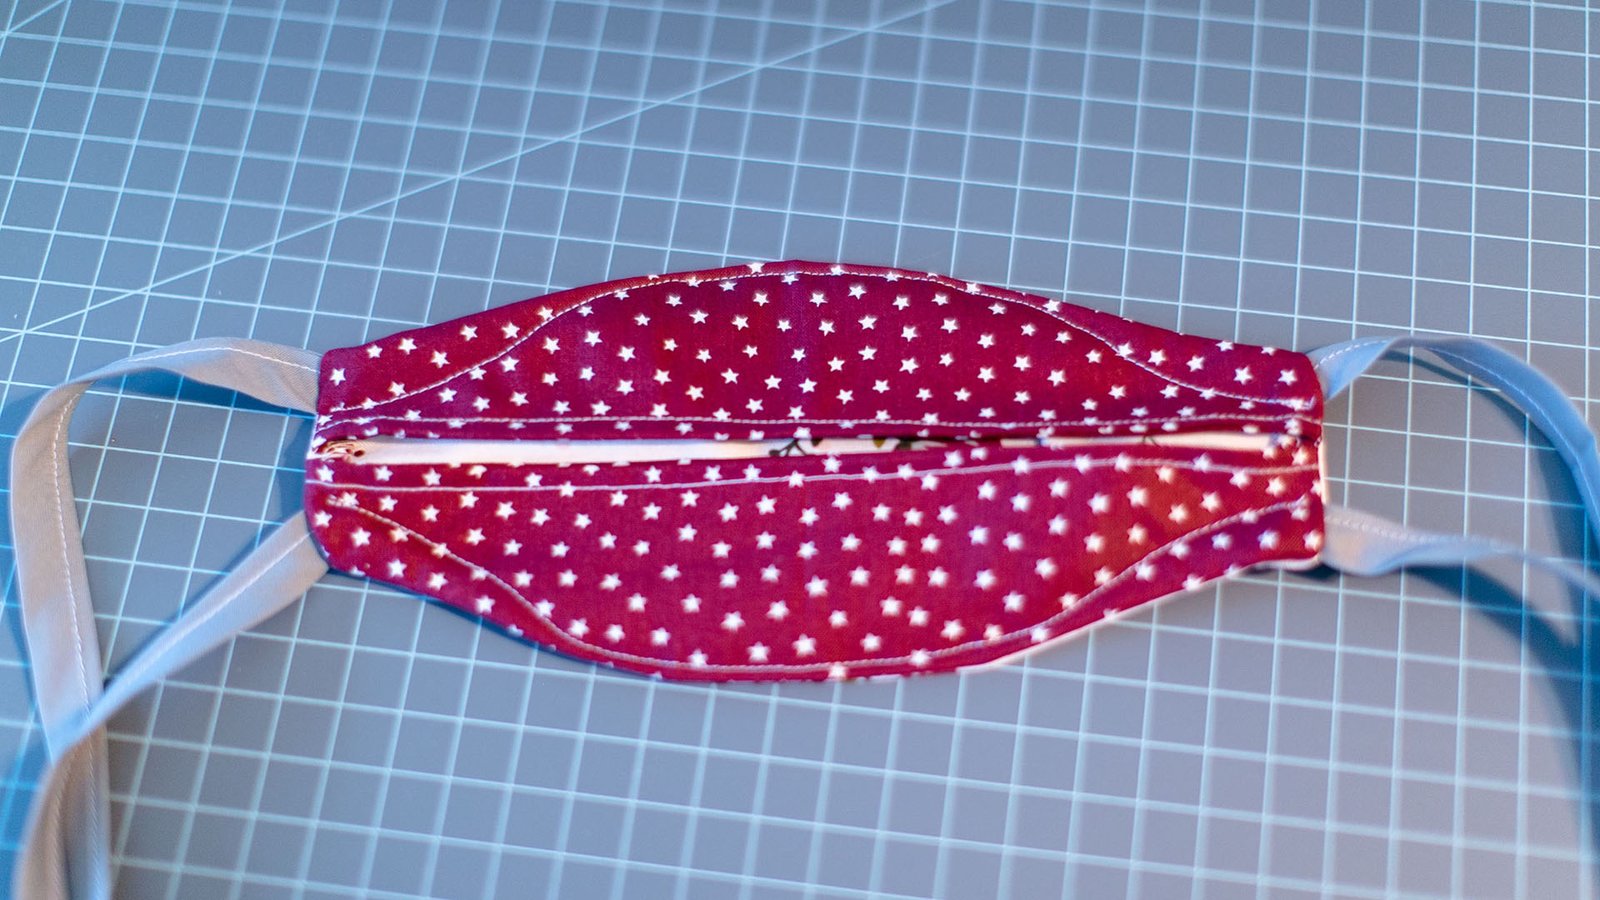
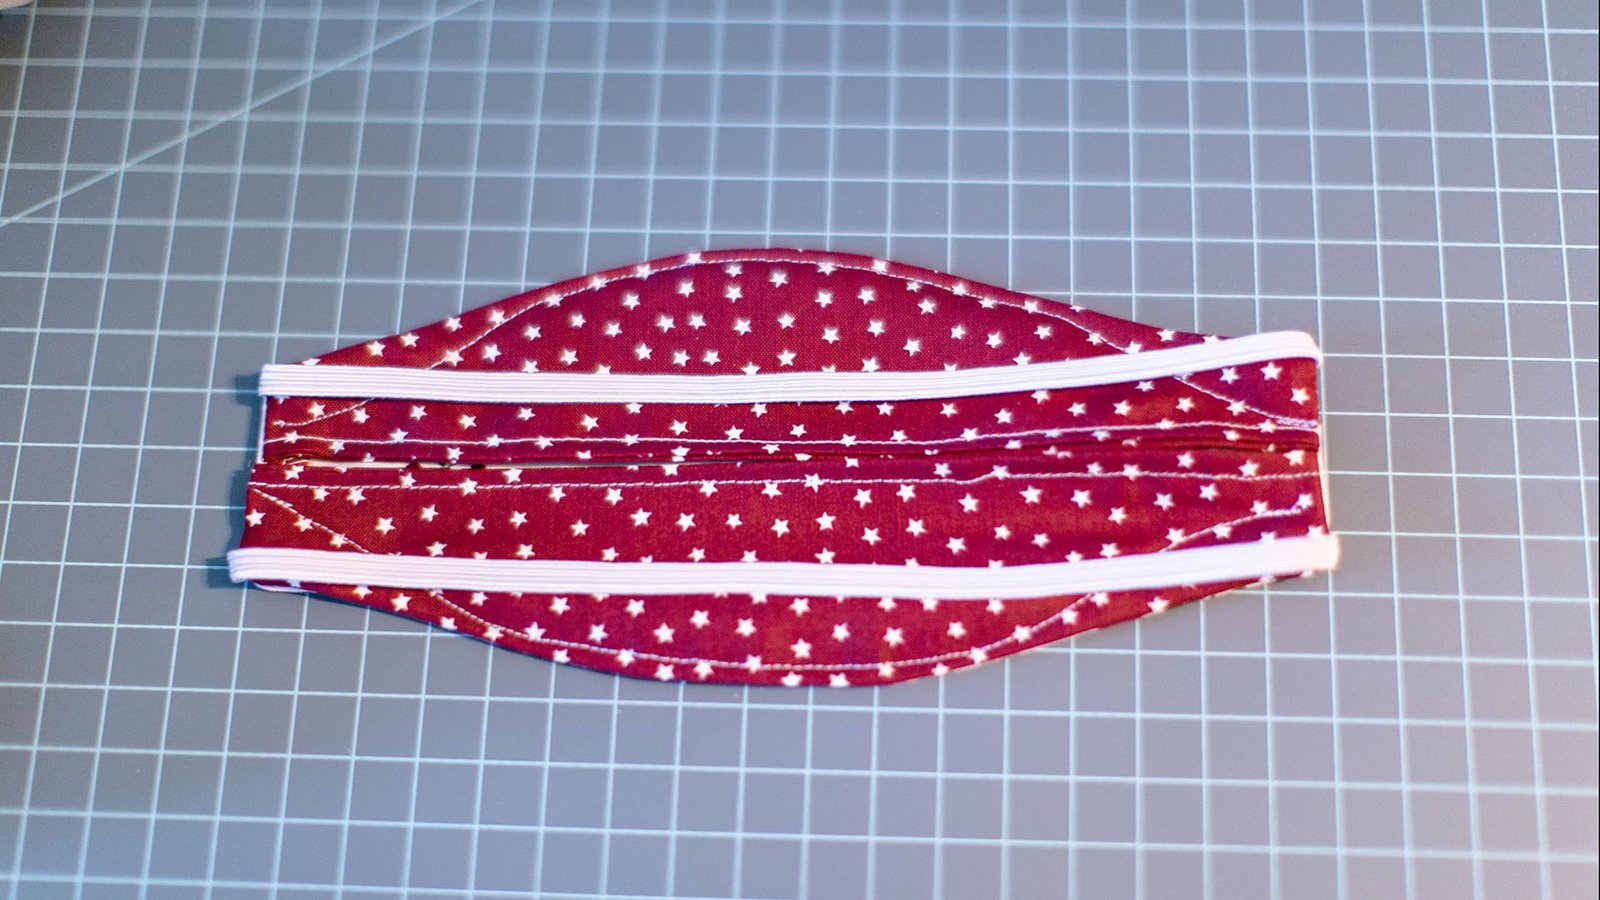
Another complain I saw was masks not fitting tight around the nose and chin. The flaps on these flip up in a way that forms snug around the wearers face.

Multi-functional

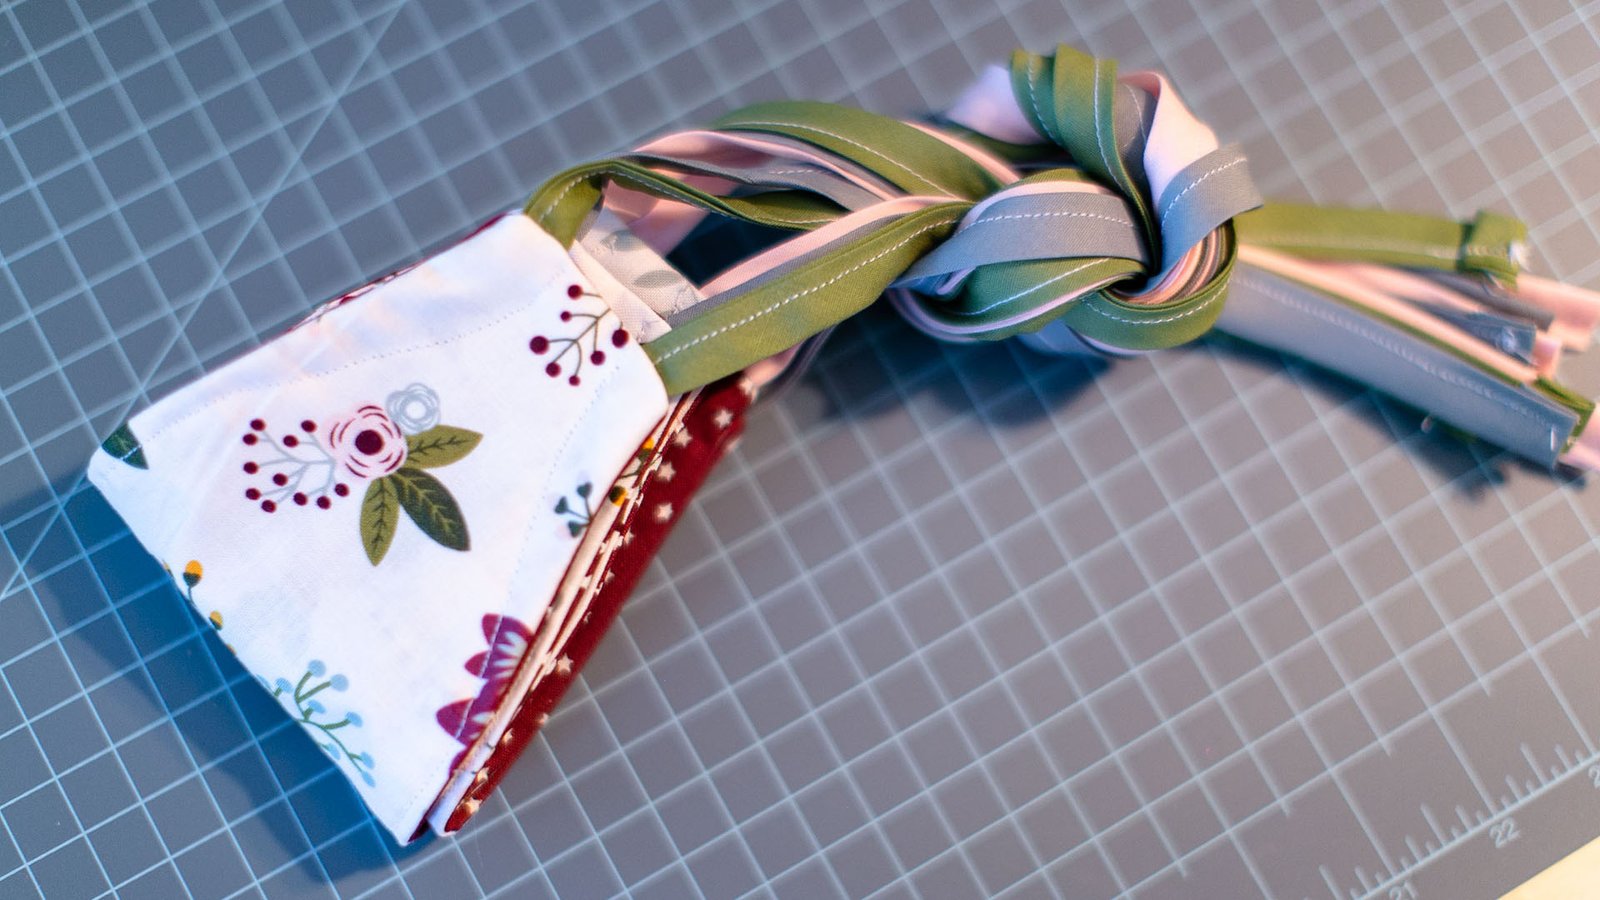
Some of the common patterns work well as covers for real medical masks. This seems to be the most common use case right now to extend the life of the existing supplies; however those are for staff. I thought they looked a little large in the event of a last resort emergency and the wearer needed the fabric one on it’s own, or if the fabric mask was being given to a patient to prevent spread. This flat-fold pattern fits well on it’s own, as well as, over an N95 mask. 

How did I make the pattern?

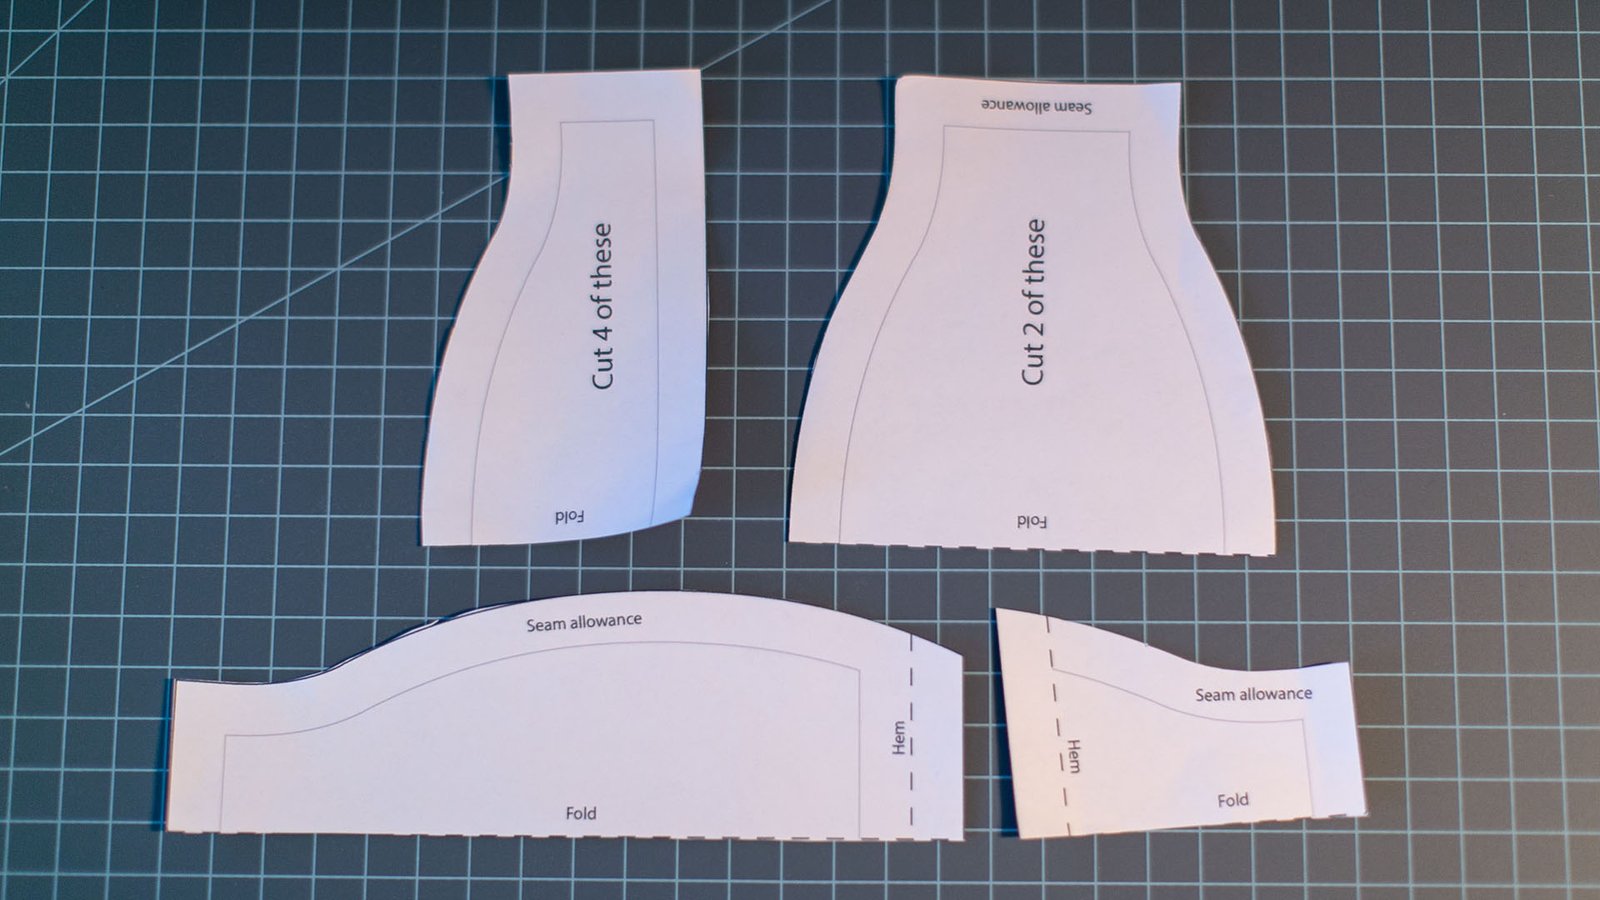
One women referenced a real N95 mask her husband had from work that had flip up flaps and sealed well. I modeled this design off that photo of the 3M Aura mask. I don’t have one in person, so I had to look up dimensions and then guess for the rest. I built paper prototypes first. Then drew the design in Illustrator, printed it, and tested it out. Making adjustments on sizing until I felt it was pretty good. 

Materials

  • 1 yard fabric for flaps
  • 1 yard fabric for front
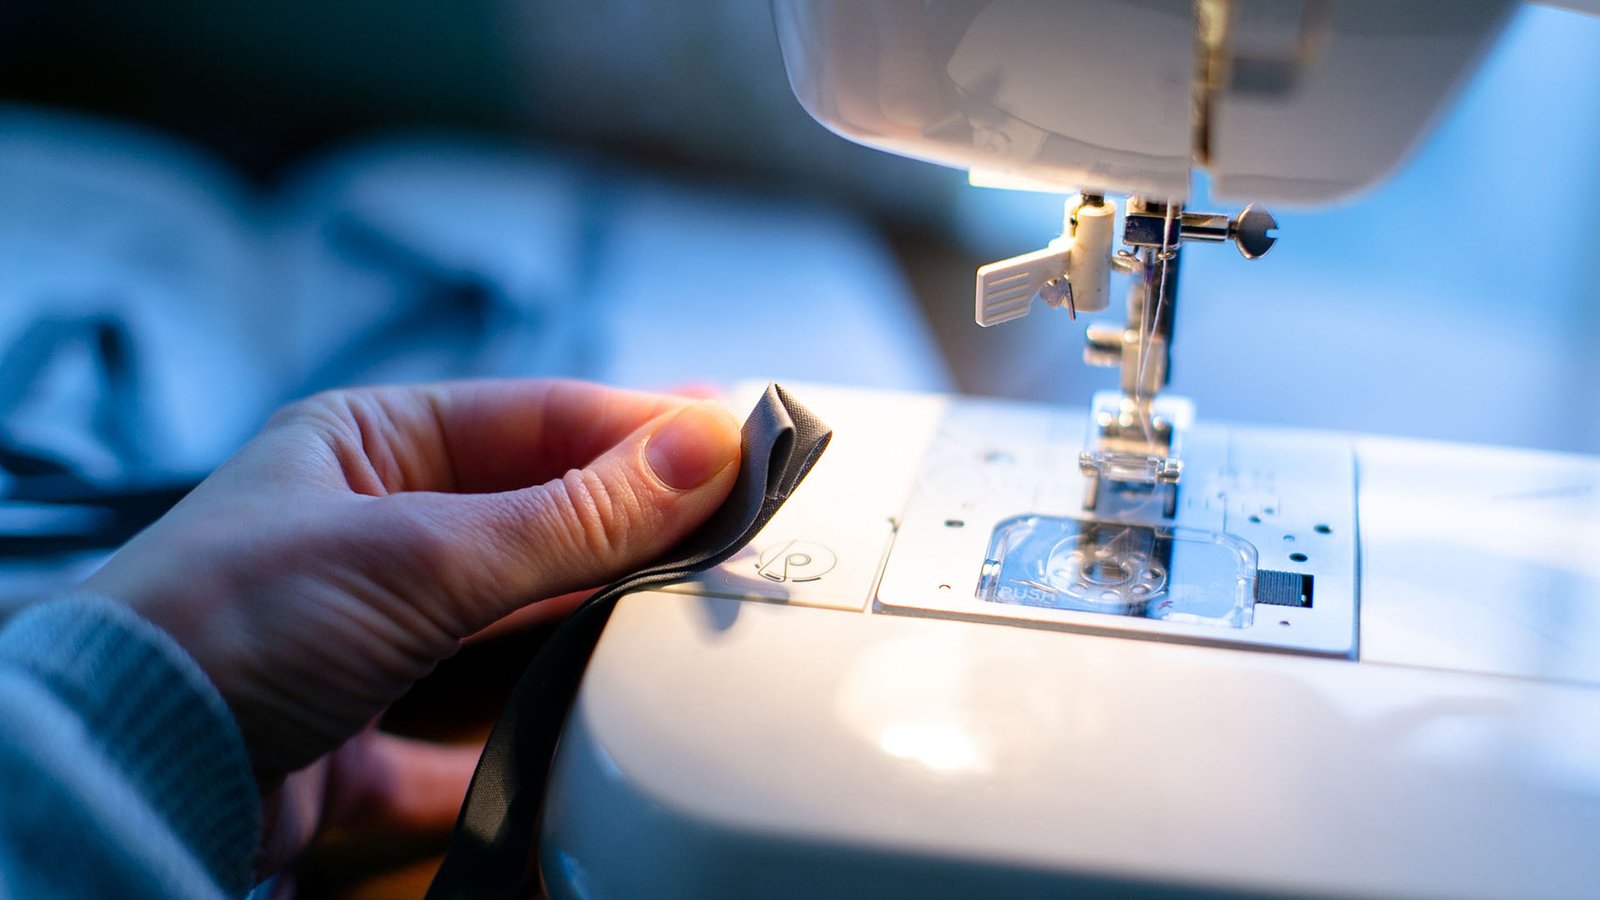
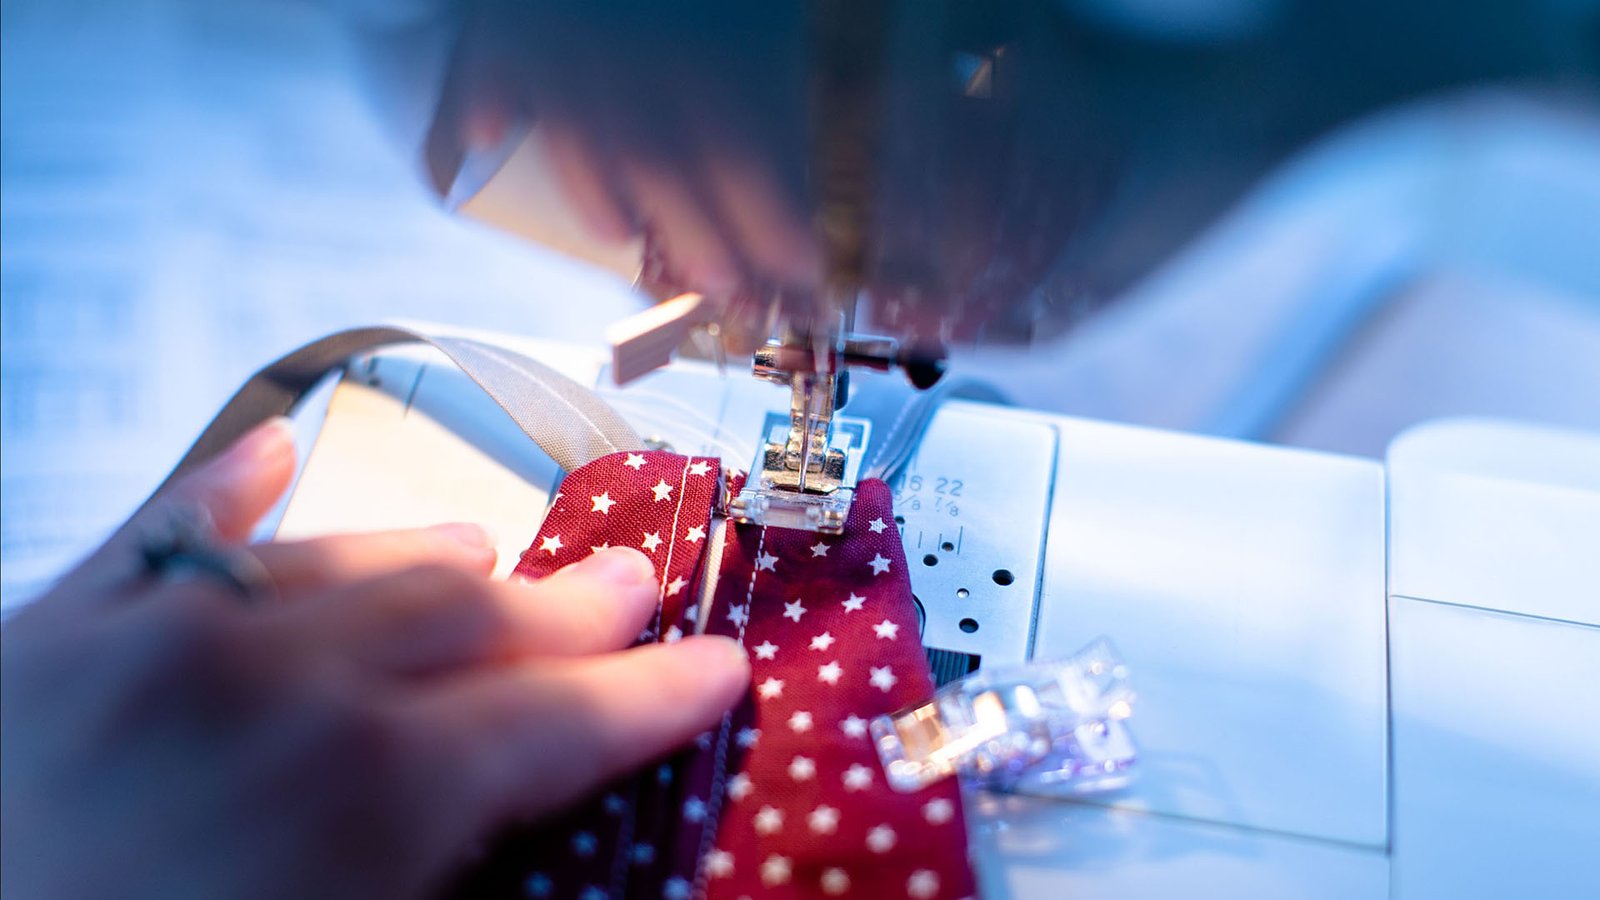
  • 80 inches of 1/2″ double fold bias tape (or make your own with 2″ strips)
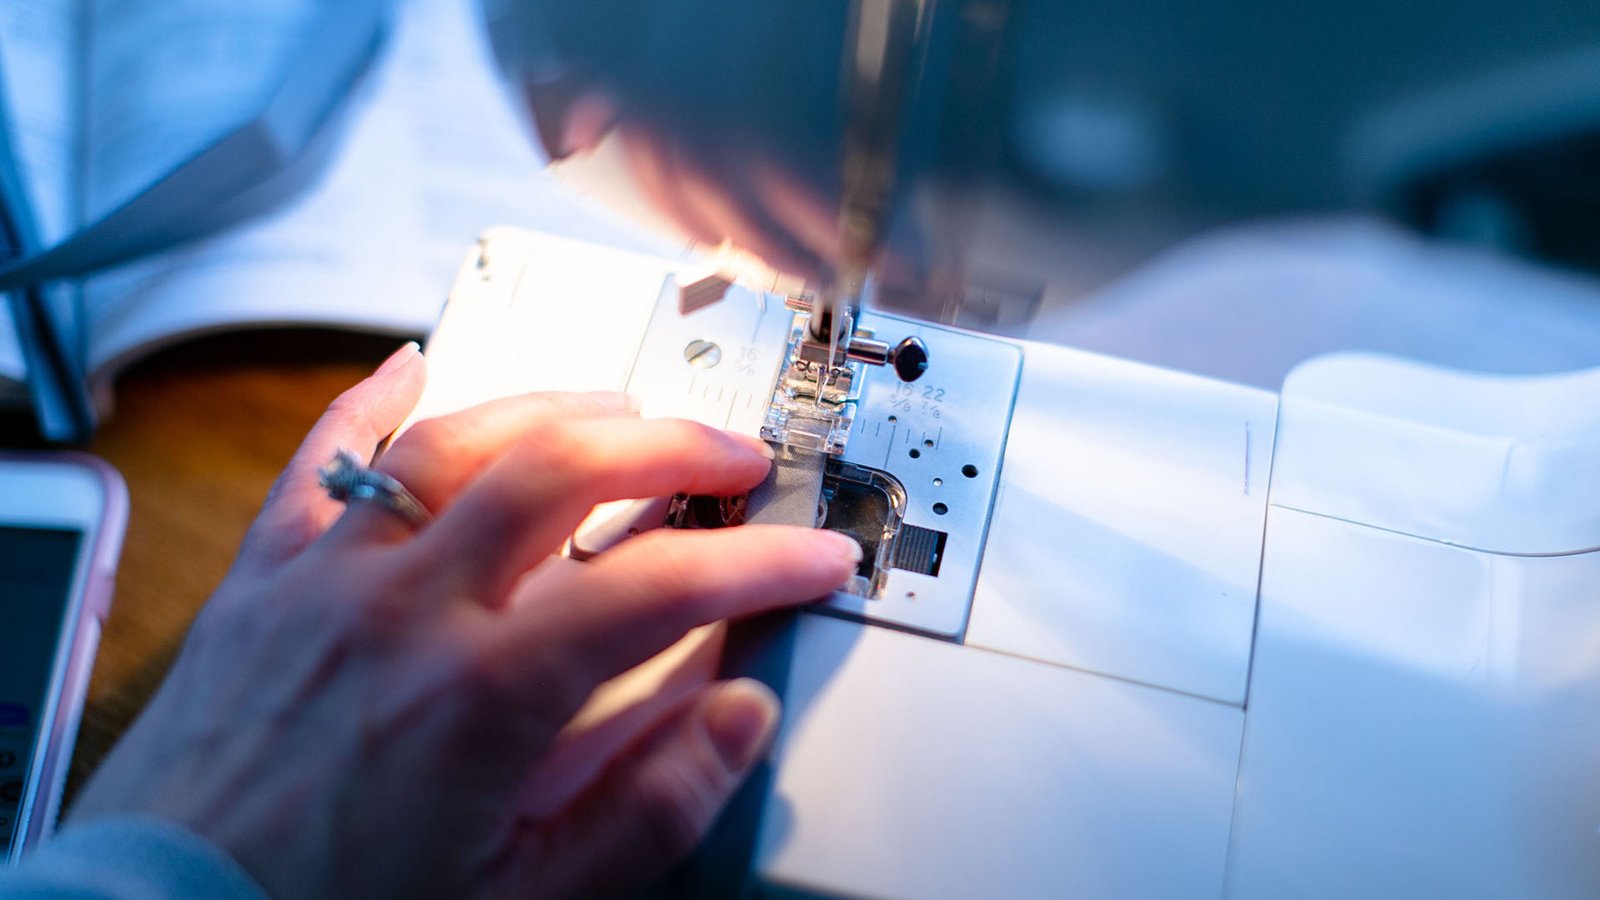
  • Thread. I used a medium duty since I know they will be washed heavily. 
 
The article that most reference explains that it’s best if it’s a weave and not a knit so that there is no stretch, and that because of risk vs reward of capture & breathability, 100% cotton t-shirt material and 100% cotton pillowcases are best. I am using 100% cotton with a tight weave, like quilting fabric.
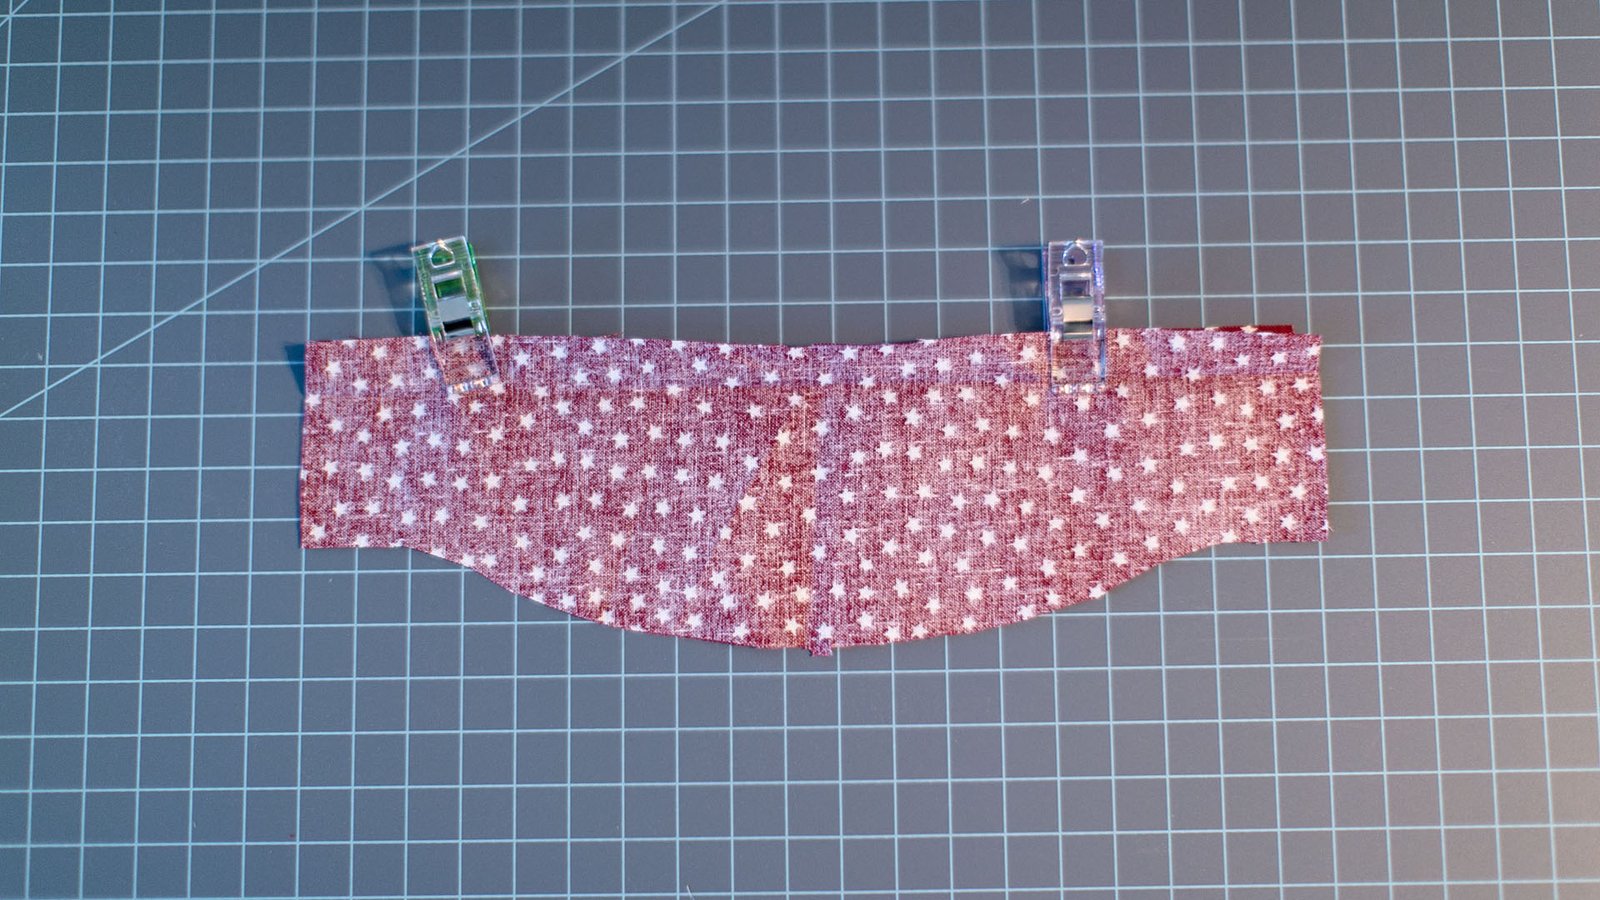
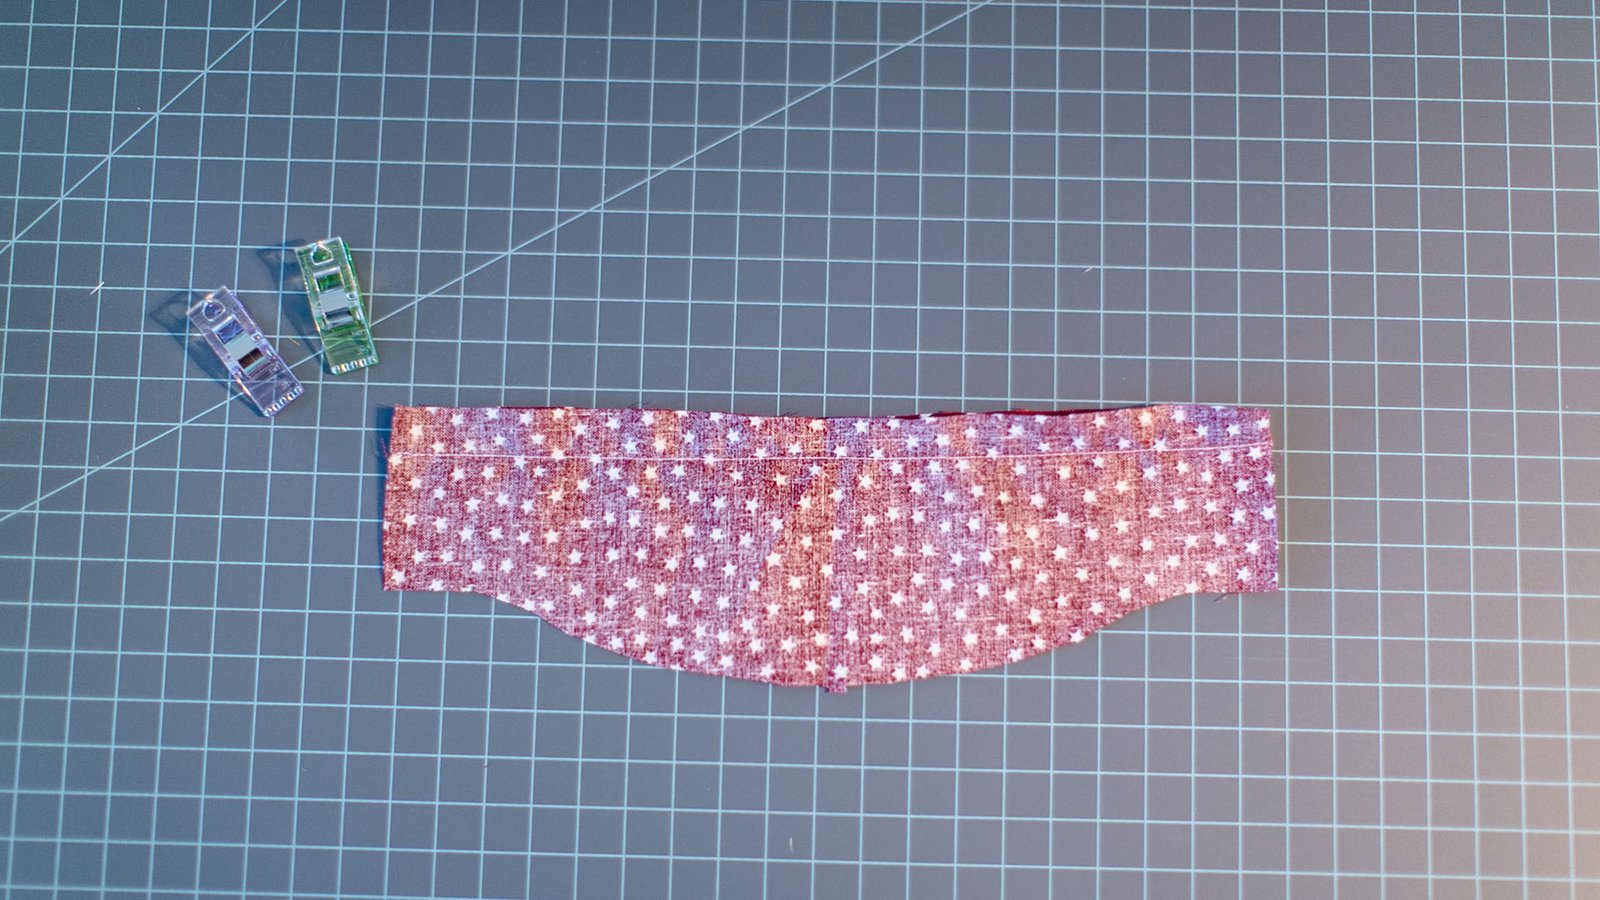
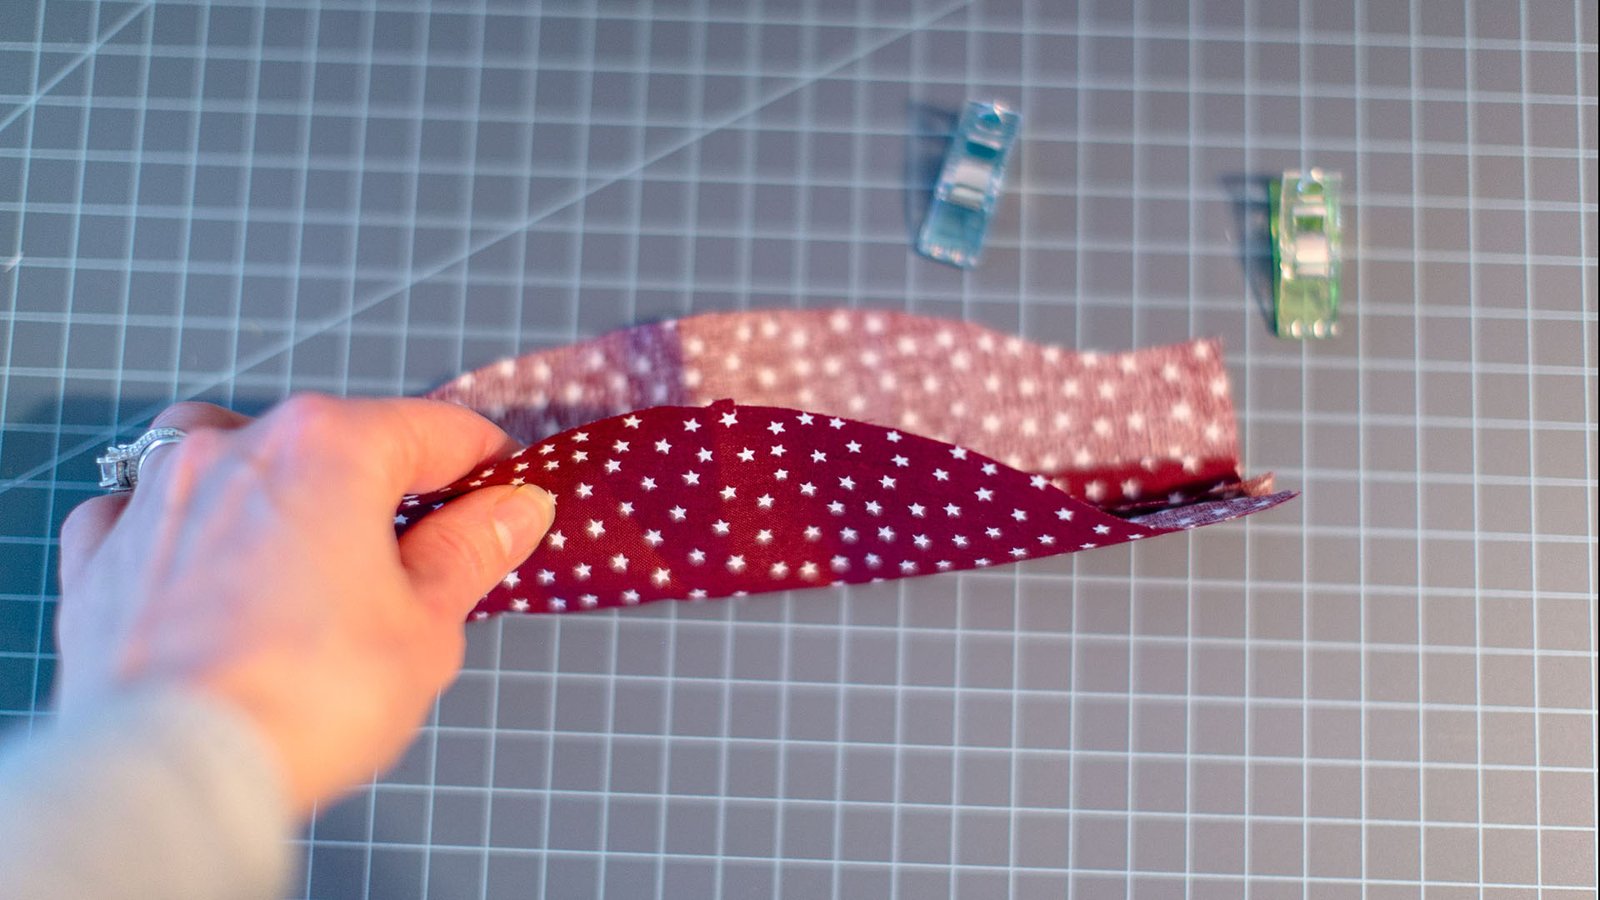
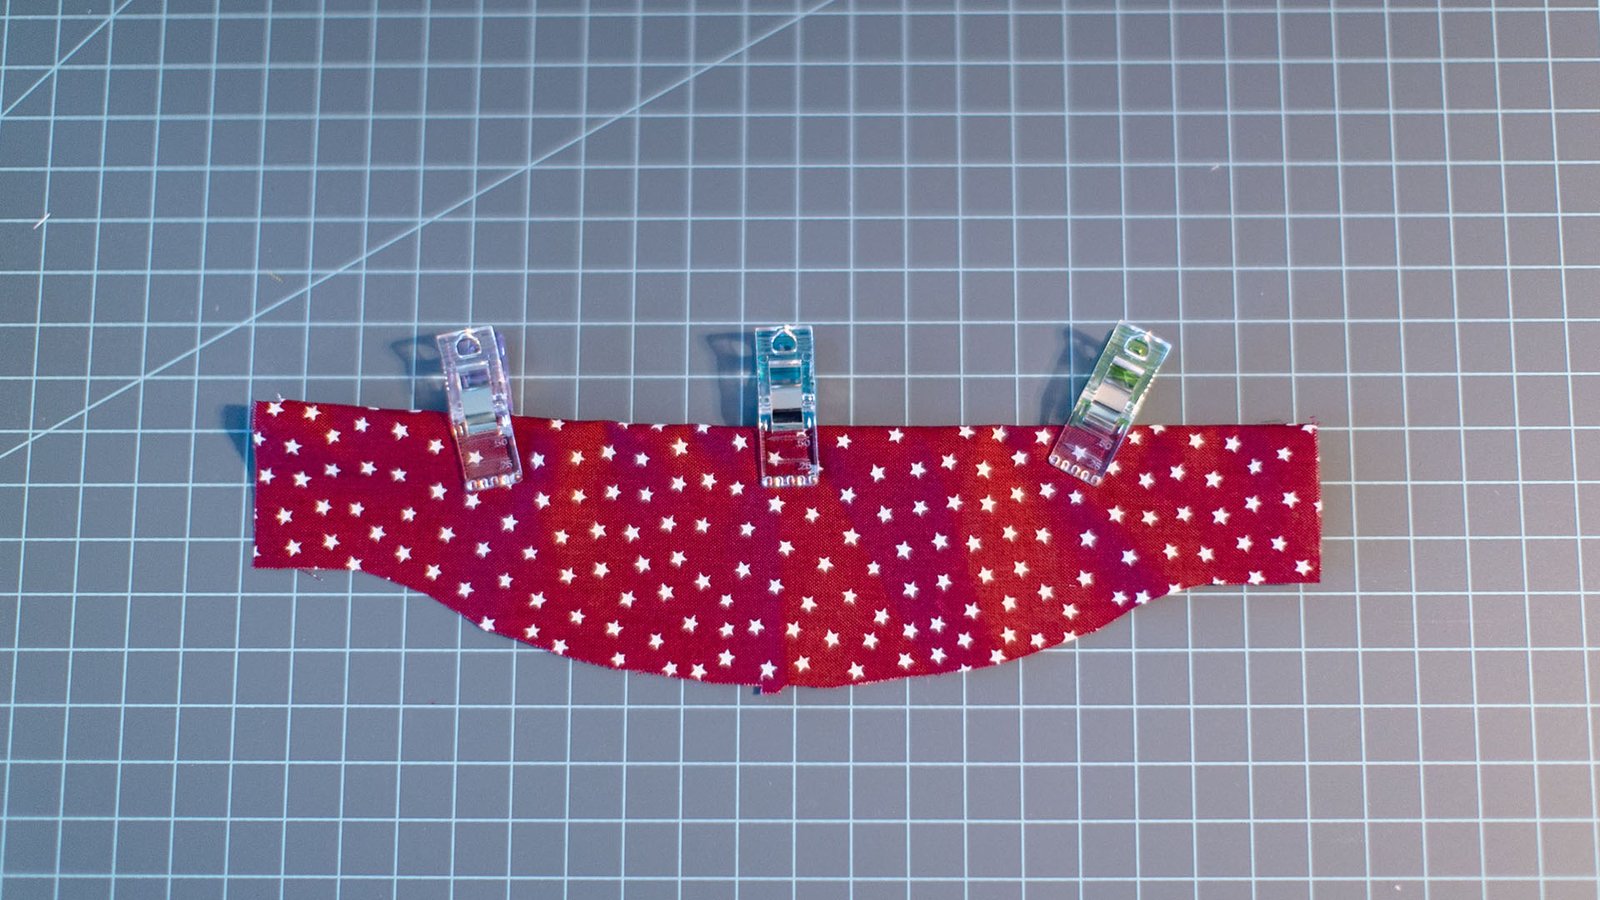
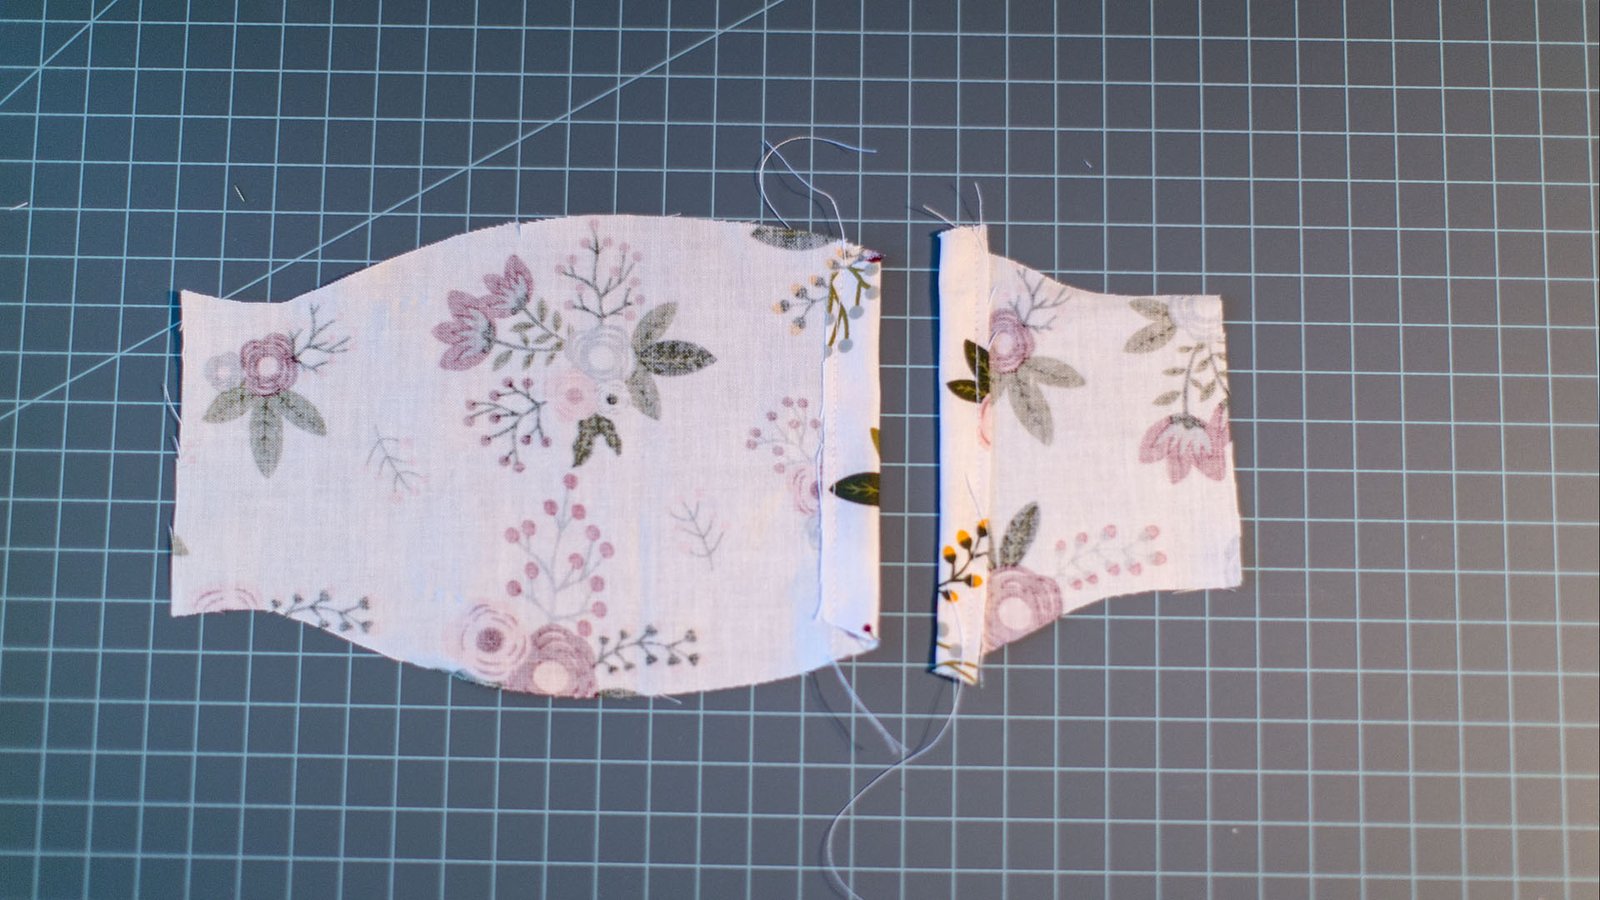
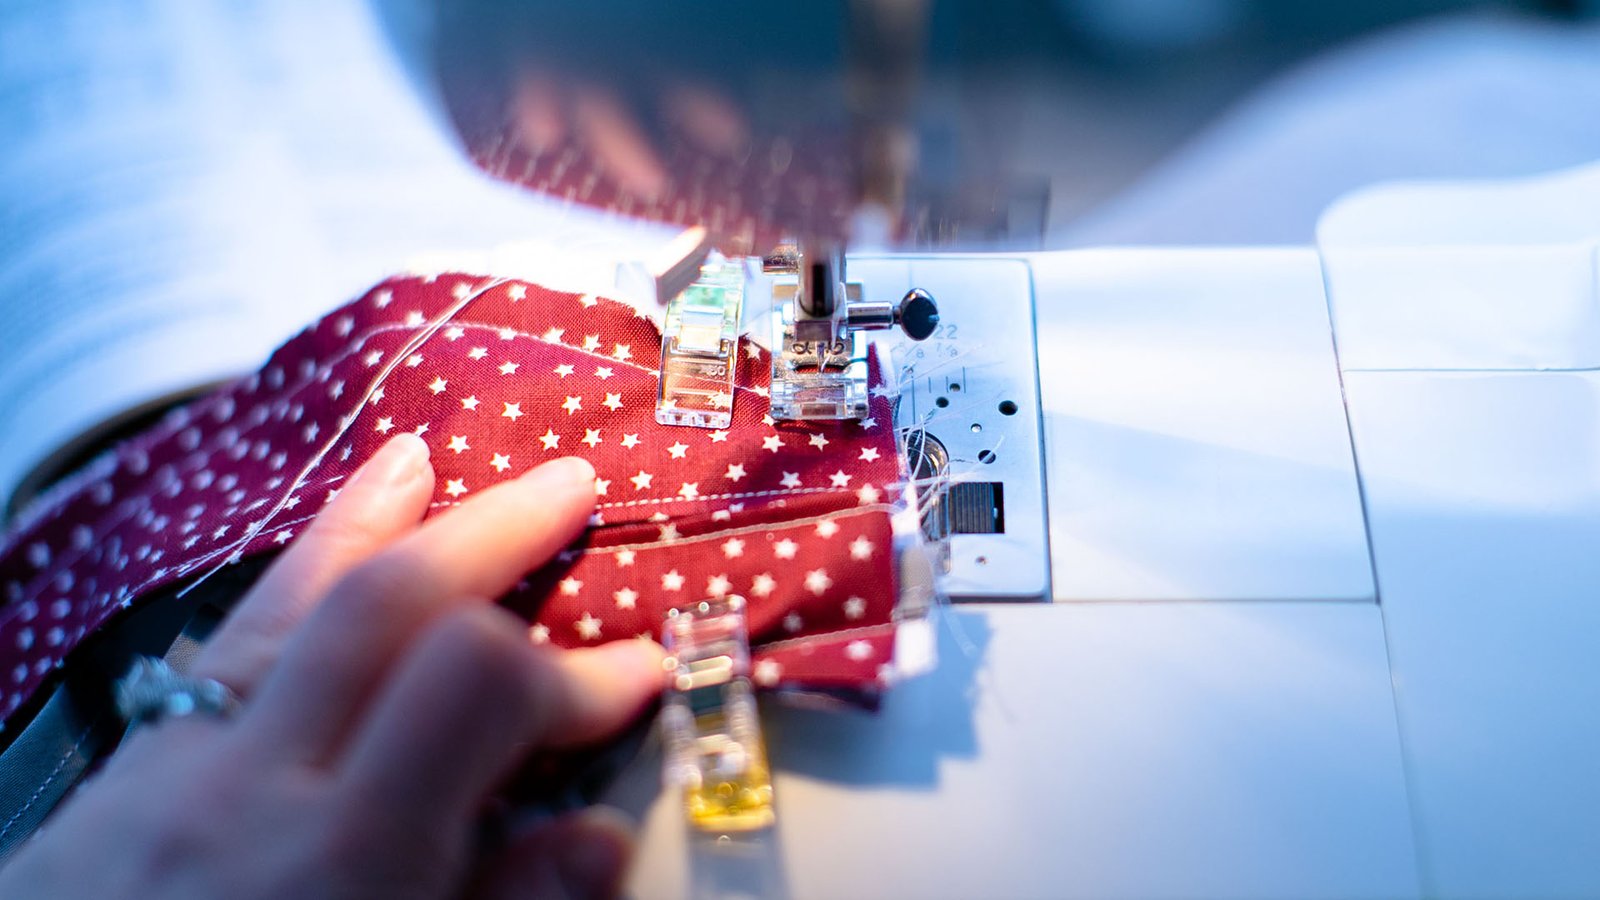
Assembly

Print and cut the pattern. I’ve put a 1/2″ seam allowance in there. Should be plenty, and you can sew with more or less seam allowance to change the size a bit. Ignore the fact is says cut two of the front pieces. That was from before I made the pocket pattern. 

Cut out all your pieces.

Cut your ties. I’ve been cutting these strips to 20″. I sort of think they may be a little long, but without a nurse or doctor to test it out for me, I don’t feel like i can assume. 

Start by sewing the flaps. Place two pieces right-side facing. Truth: I don’t really clip these because I sew them in a long string and hold them by hand while I sew. BUT I will say, these are the greatest invention EVER! My son is in my lap while I’m sewing half the time, and he keeps stabbing me with pins. 

Aww, look. It has a seam. 

Fold the wrong sides together. 

Clip the edges down so they stay tight. 

Run a straighter seam than I did down the length of the flaps. Do all these steps to both sets. 

For the pocket pieces, turn under and sew across. 

Now that all the prep work is done, stack your pieces. Start by putting the pocket pieces on top of solid front. 

KEY STEP! Flip it over. Stack your flaps on top of this. 

Sew the stack of items together by sewing down the arched sides. 

Now let’s work on the ties. For each one, flip the end in to start. This will be the open side of the tie. 

Stick down the whole thing. Basically the same process if you are using bias tape or folding strips to make your own. 

Place the un folded ends of the ties under the flaps. Line them up as far as you can inside the fold.

Sew across the ends to secure the ties.

Tada! Now for some cleanup and finish. 

I’m pretty sure some will think this is a silly step, but I don’t trust my serger to have a strong enough seam for the stress required to flip it inside out. So, I do my seam, and then go over the edges with the serger to make it nice and tidy. I feel better… If you don’t have a serger, you can just cut the edges nice and even. I’ve heard that hospitals has requested the corners not be clipped because they tend to fall apart more in the wash as it weakens the corner seams. 

Flip it inside out. Use the ties to help pull the corners nice and square. 

Use clips are pins to make your curves tight. 

Ok, here’s where it’ll take practice. We’re going to make the scoops that create the shape that helps seal the flaps to the face. Best way to describe it is to put it in the machine with the needle right about at the edge of the tie. Then sew diagonal across to about where the clip starts in this picture. Then follow it around the arch and taper it off towards the inside point of the tie on the opposite side. 

This may take some practice… can you tell? This was one of my first ones before I figured things out. It should look like a big smooch!

Optionally, you can use elastic. I did these with 10 inch strip of elastic on each side. 

The pocket should be on the inside. Has little slits like a pillow sham in case they need to use it alone and put a filter inside. 

This little set is off to someone important to my cousin. Hope they can be helpful!

Are you making some of these? Tell me about it! Show me your pictures or tag me @ijustmakestuff on Instagram.

3 Responses

Leave a Reply

Your email address will not be published. Required fields are marked *